Log a Cable Replacement
You’ve performed a site visit to replace a cable and need to log this on ORBIT. You want to consult a map to be sure you’ve found the right cable before making these changes.
Visit https://orbit4rail.co.uk, and sign in if required.
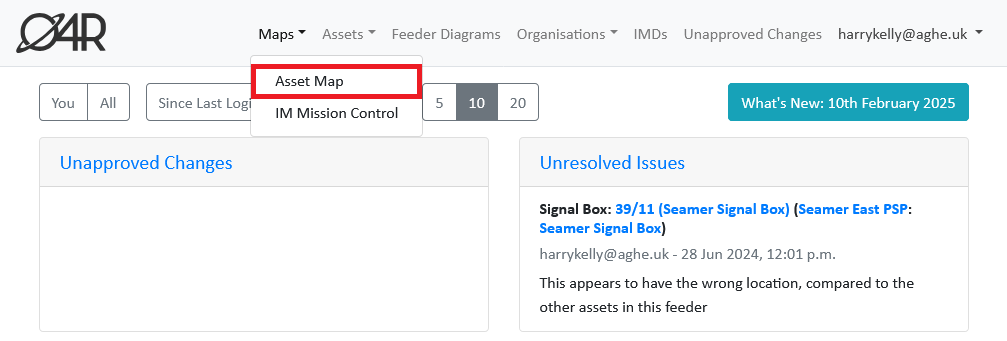
To view a map of assets, consult the navigation bar, and select Maps > Asset Map (if on a small display, you may first need to tap the menu button (labelled ≡) at the top right of the page). The map page may take a while to load but under normal conditions this time is under a minute.
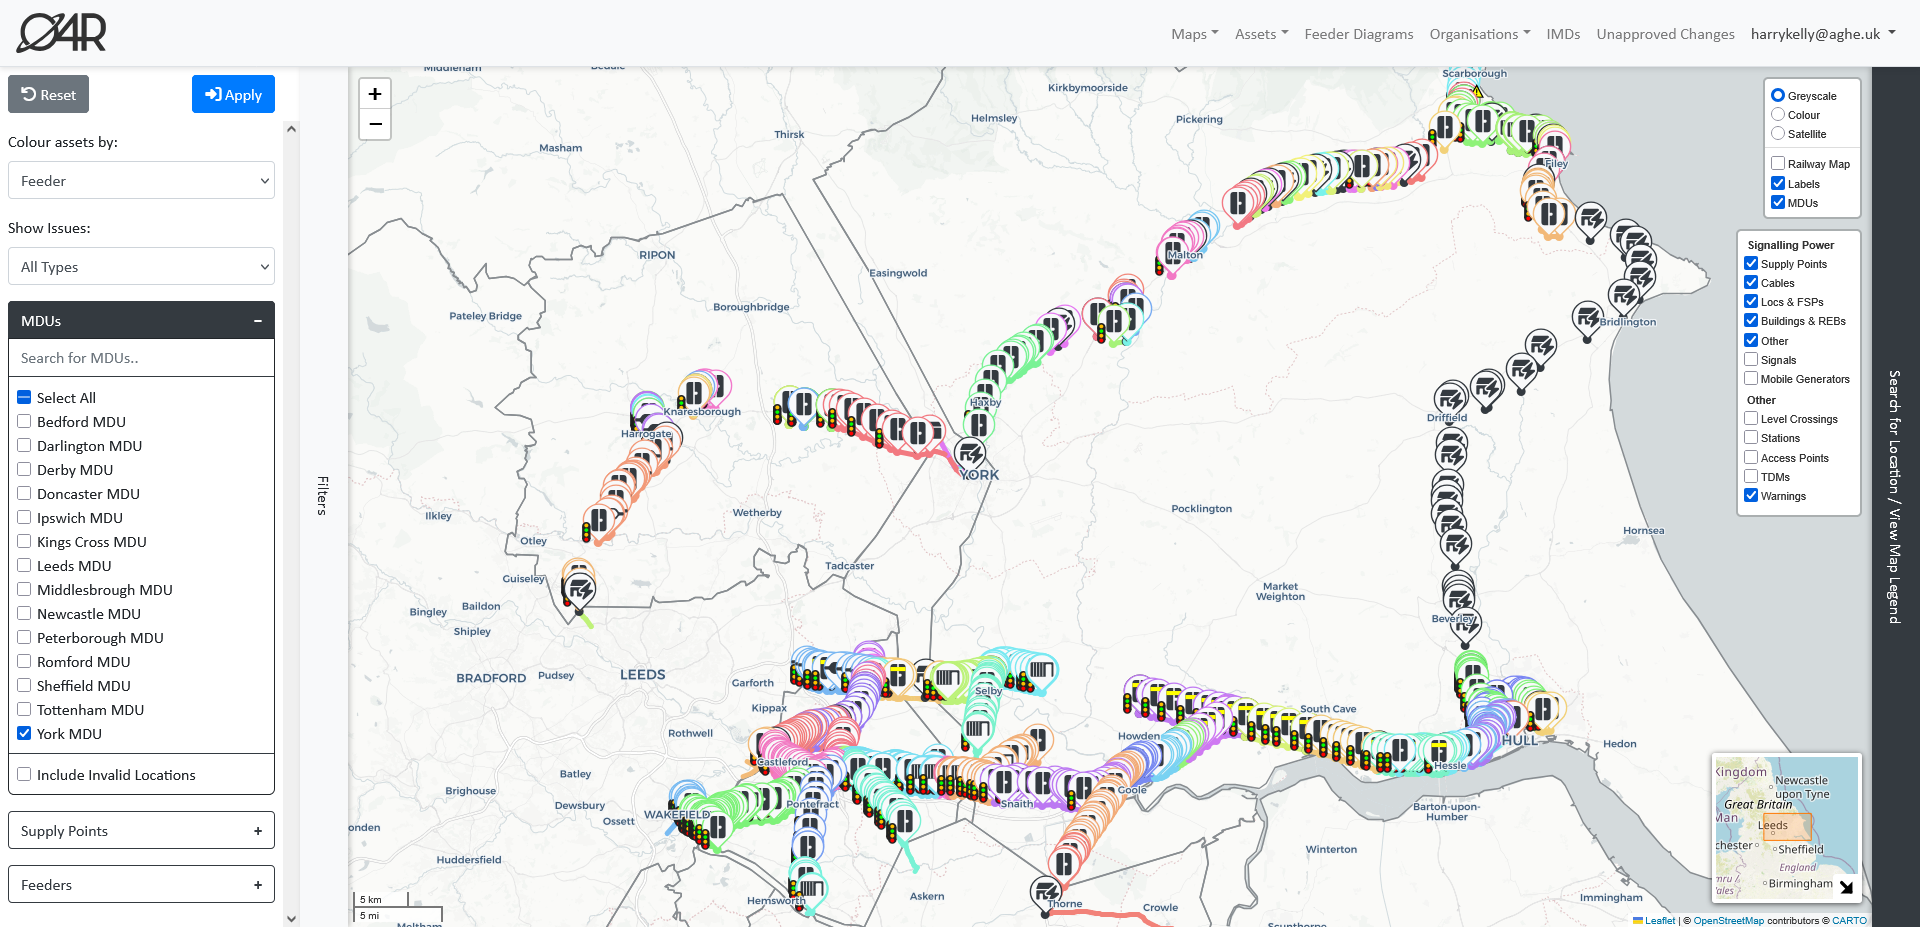
By default, the map page will show all the assets within your MDU, but if you require to filter this down further, you can filter by MDU, supply point, and feeder in the sidebar on the left of the map – remember to press apply and wait for the page to re-load.
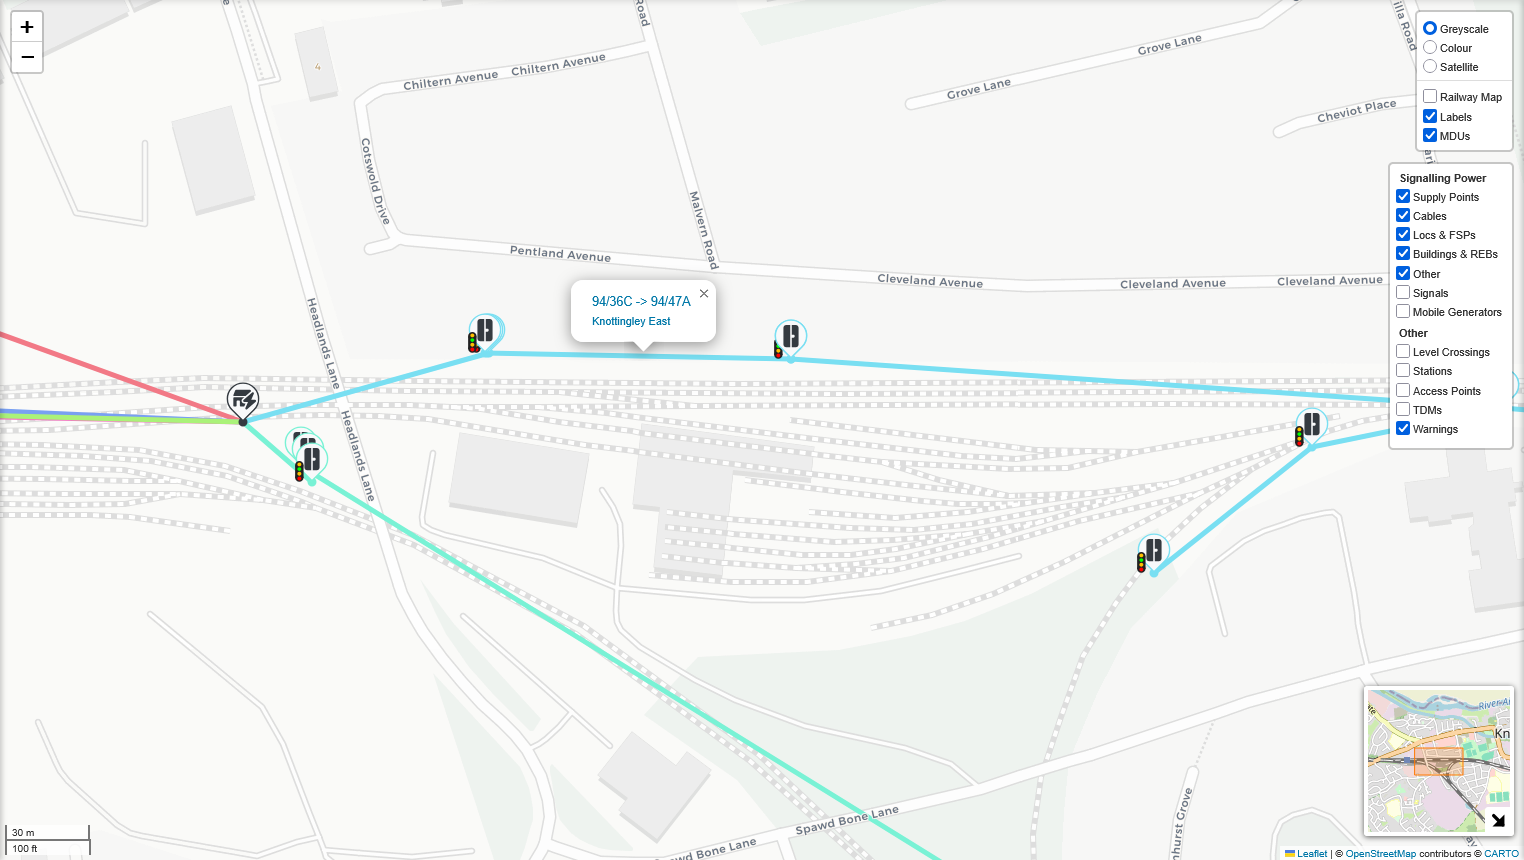
Find the location you were looking for, and click on the cable visible on the map, and a popup will appear showing the cable and the feeder’s name. Click the cable’s name to view its details.
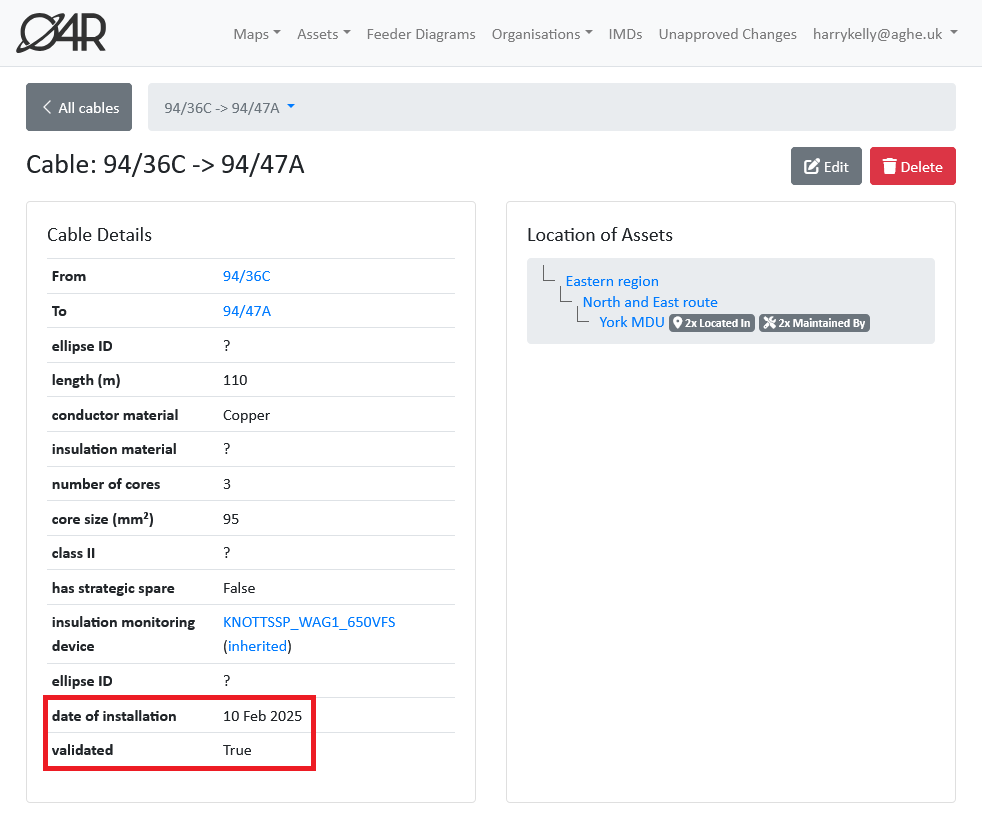
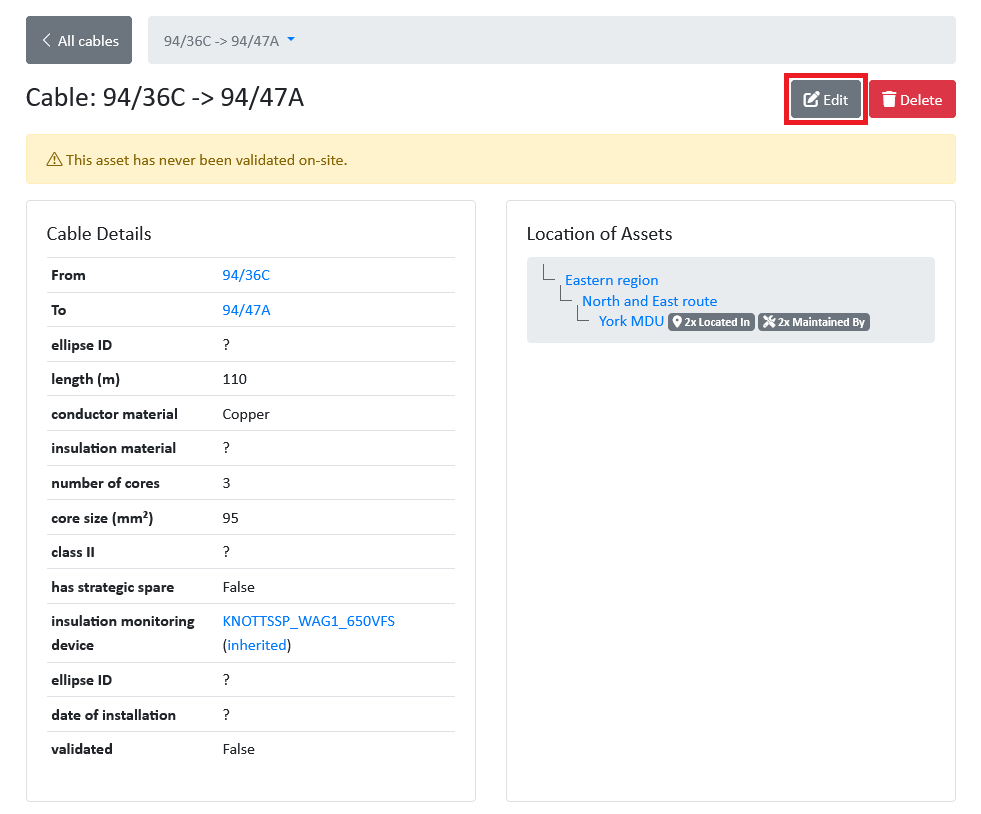
On the details page for the cable, you can check the information about this cable, such as number of cores, core size, and length – as well as the date of installation. To edit the cable, select the edit button.
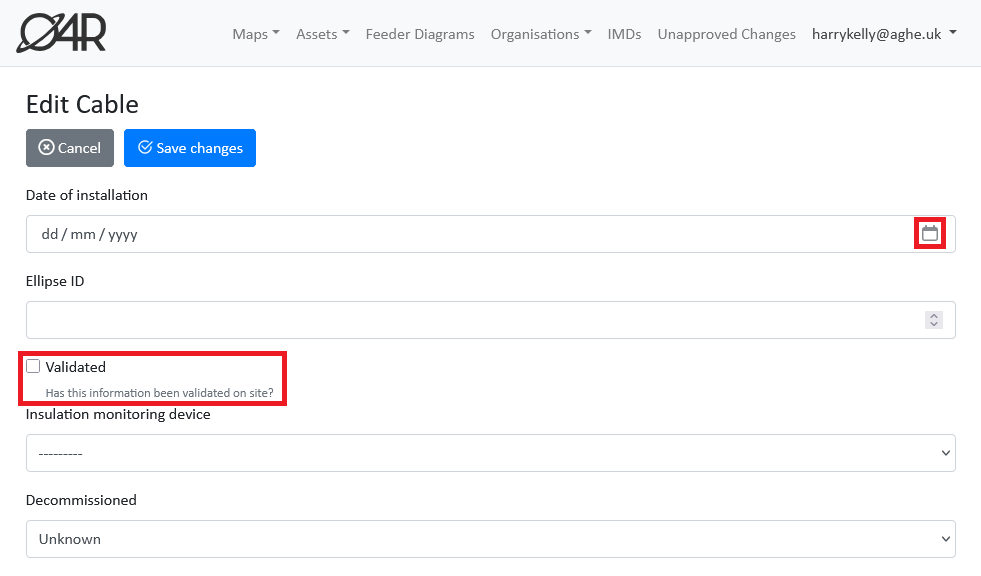
On the edit page, the date of installation field will be at or near the top. Use the date picker (calendar icon on the right-hand-side of the box) or type in the date that the cable was replaced. This is also a perfect opportunity to update any of the other information, should that have been incorrect or have changed. If all the information is correct and validated on-site, you can also tick the Validated box, which will remove the warning from the detail page.
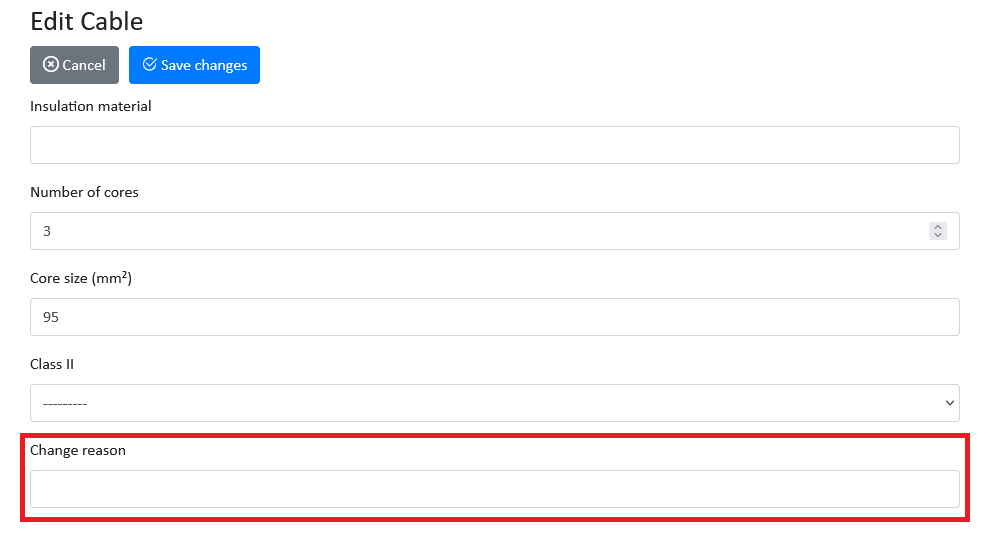
At the bottom of the page, there is a change reason field. It’s recommended that you use this to provide extra context as to why this change was made, so other users understand what you have done. After filling this in, press the save changes button.
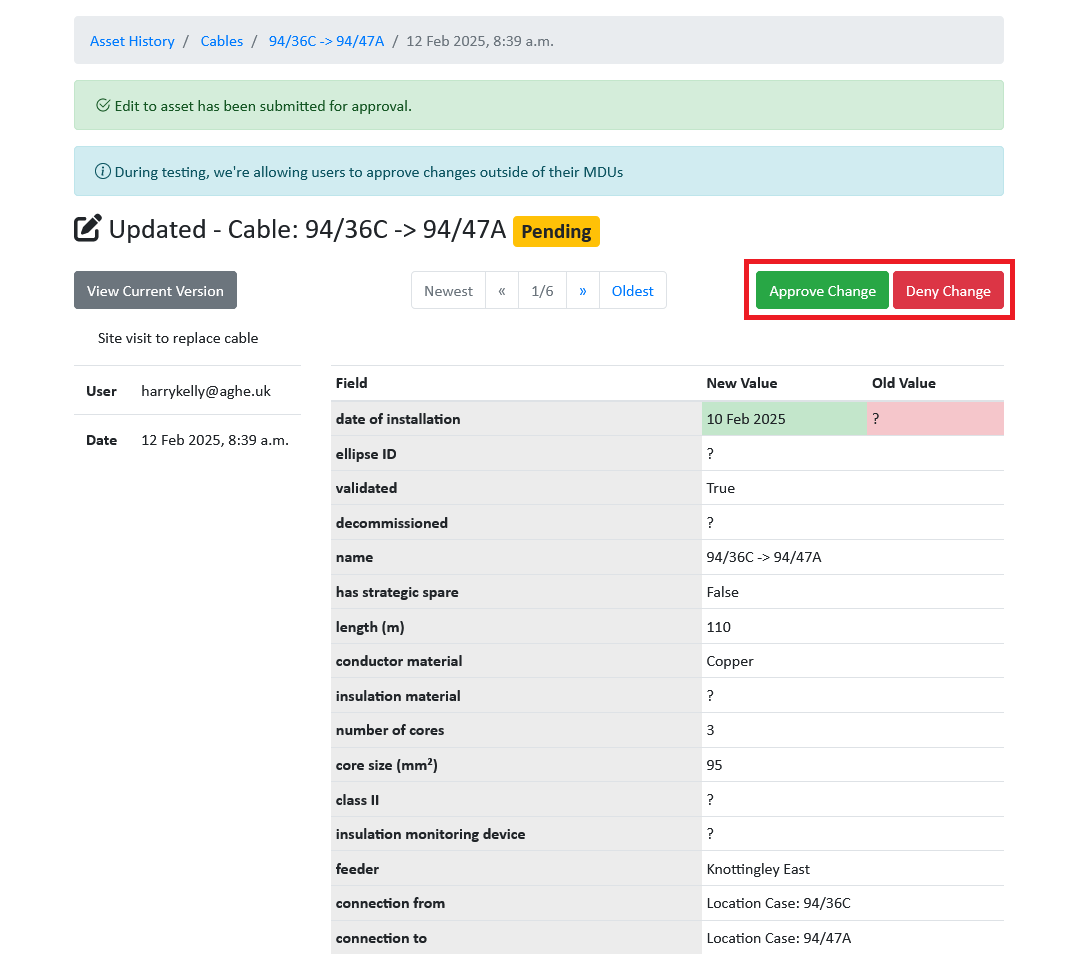
You should be redirected to the history page for your pending change. In the event this has not occurred, select the option labelled Unapproved Changes in the navbar, and select the View option in the entry for your change.

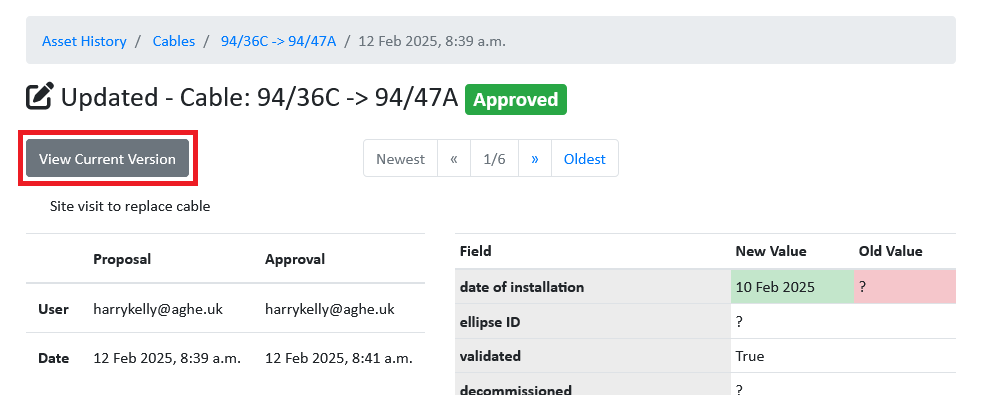
The detail page for your pending change will show the previous and new value for the date of installation field, and any other fields you have changed. Select Approve Change to apply this change, or Deny Change if you wish to abandon it and create a new one.
After approving the change, the page will reload and show the new state of this change. Select the button labelled View Current Version to see the effect of your change.
The asset's detail page will show the new installation date and validated status.